Cyber Security Detection Lab Pt.1


A world full of ones and zeros has always captivated my attention, and if you're reading this, I guess it does the same for you too. Welcome to the first post on my website, a personal reflection and documentation of my journey through life and tech. As I document each step of my adventure, I invite you to join me, to learn with me, and to embark on this exciting journey.
I will start with a threat detection lab from a Youtube channel called Day Cyberwox. The creator, Day, is a cyber professional who has been making videos centered on cyber security for over 3 years. The lab of his I'm doing is dated back 2 years ago so while the tools are relevant, I expect to do a lot of troubleshooting as software changes over time and will not look the same now as two years ago. I hope that working through this along with the necessary troubleshooting will give me the experience to continue my education in other ways. Let's get started.
My PC
For this project, I am using the computer that I built myself in 2020. Here are the specifications.
CPU: Intel(R) Core(TM) i7-9700K CPU @ 3.60GHz
RAM: Silicon Power GAMING 32 GB (2 x 16 GB) DDR4-3200 CL16
Storage: Samsung SSD 860 QVO 1TB
Graphics Card: NVIDIA GeForce RTX 2060 SUPER
Motherboard: Asus PRIME Z390-P ATX LGA1151
Host Operation System: Windows 11
Lab Topology

Installing VMware
To start we are going to be using VMware workstation pro as our hypervisor and pfSense as our SIEM and firewall. The links are below:
VMware - https://www.vmware.com/ca/products/workstation-pro/workstation-pro-evaluation.html
VMware will run you back $200. Virtual Box is a great free alternative.
pfSense - https://www.pfsense.org/download/
Will have to be unzipped once downloaded. I use 7-zip personally.
With both of those downloaded fire up VMware and click the create a new virtual machine button. Click the installer disc image file (iso) and click browse to find your pfsense iso. Name the machine "pfsense" and the default storage of 20GB is plenty.

Now click Customize Hardware.
Give the VM 2GB of RAM.
Now, for this project, we will need 6 network adapters so all of our machines can connect. So click Add at the bottom of the window and 5 more.
For each new network adapter, look at the Network connection box and click Custom. In the dropdown click the VMnet corresponding to the network adapter number. Be sure to leave the default network adapter set to NAT.
Go ahead and remove the USB and Sound card devices. We won't need them.

Go ahead and close the Hardware window and click finish.
When the pfsense VM is ready load it up and it will boot right into the pfsense installer window. Accept all defaults except for those on the partitioning screen. Here you want to arrow key down one to the Auto (UFS) Bios option. Click Restart when prompted.
After the reboot, you should be prompted here.

Now we are going to add the other network interfaces that we added earlier in the settings. To do that we have to follow the Assign Interfaces option.
Key "1" and hit Enter.
Should VLANS be set up now [y:n]?: n
Enter em0, em1, em2, em3, em4 & em5 respectively for each consecutive question
Do you want to proceed [y:n]?: y
When it finishes we'll be able to see that the interfaces have been assigned but without IP addresses. We'll assign them now.

Enter option 2
We’ll start with the LAN interface (2)
The IP address 192.168.1.1 is going to be used to access the pfsense WebGUI via the Kali Machine
Use the configuration below for the Lan interface.

Use the configuration below for the OPT1 interface.

Use the configuration below for the OPT2 interface.

Leave the OPT3 interface without an IP as it is going to have the span port with traffic that Security Onion will be monitoring.
Use the configuration for the OPT4 interface

And that's all for the pfsense VM. The rest of the configuration will be done via the Kali machine through the WebConfigurator.
Configuring Security Onion
This will be the all-in-one IDS, Security Monitoring, and Log Management solution. The link below is to the GitHub page with the download link. Be sure to verify the download when finished.
Move the file to where ever you keep your ISOs and head back to VMware.
Keep your pfSense machine on and go back to VMware home.
Click Create a New Virtual Machine
Make sure Typical(recommended) is selected and click Next

Click Installer disk image file (iso) and find your Security Onion ISO with Browse..., click Next
Choose Linux, CentOS 7 64-Bit and click Next.

Name the VM SecOnion or similar and click Next

Give at least 200GB of disk space(per Security Onion requirements). I give 300GB to be safe. Click store as a single file and click Next.

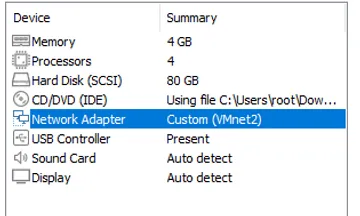
Click the Customize Hardware button and do the following:
- Change memory to 16-32GB ( Security Onion recommends at least 12GB)
- Change processors to 4
- Add two Network Adapters and assign them Vmnet 4 & Vmnet 5 respectively

Click Finish
Power the virtual machine and click Enter when prompted

Type "yes" when prompted and then enter a username and password.

When the install completes(which will take a while) press [Enter]
After the reboot, enter your username & password
Select "Yes"

Press enter on the next screen to select Install. Then select Eval on the following screen.
Type agree and hit Enter
Hit Enter
Give the host a name and press Enter. They recommend only using lowercase so do so. I used "seconion"
On this screen press Space to select ens33 then press Enter

Press Space on DHCP and hit Enter

Press Enter then Enter again to start the initialization.
Press enter to select and continue with Standard.

Press enter to select and continue with Direct.

The Monitor Interface will be ens35 so press space on it and hit Enter.

We want automatic updates...

Leave the home network default and on the next screen leave all services checked.
That will bring you here, press enter

Now you will have to enter an email and password for the admin account
Select "IP"

Select “Yes” for the NTP server & accept the defaults
Select "No" here

Take note of your final settings before proceeding! If possible take a screenshot.
Scroll to the bottom and hot tab to select yes then hit Enter.

While this is loading we will move on.
SecOnionMgmt/ Analyst Machine
After installing Security Onion, having access to the web interface will be done from an external Ubuntu Desktop simulating a SOC/Security Analyst accessing a SIEM or any other tool from their device.
In order to do this, you’ll first have to configure an Ubuntu Desktop. I won't be going over that here but will instead point you to another good source.
How to Install Ubuntu Desktop on VMware
Once installed, skip passed all the intro setup and open up the terminal.
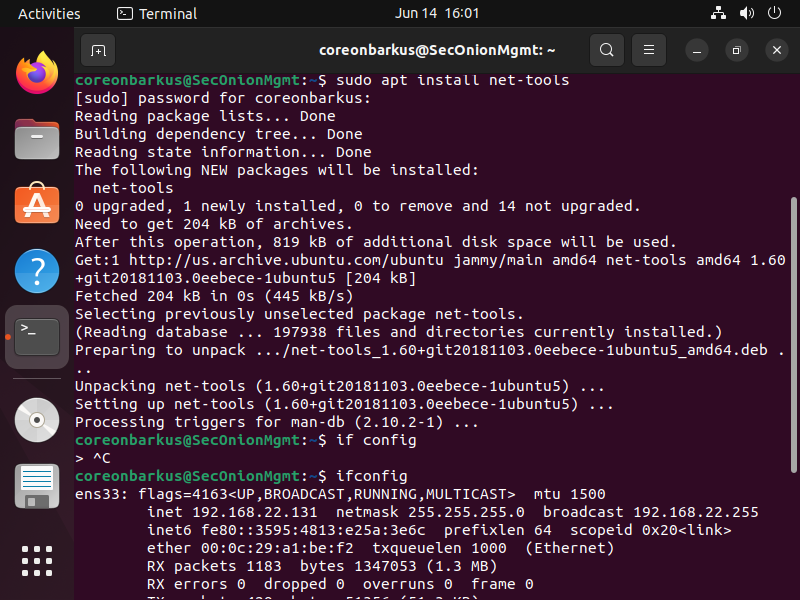
Run "sudo apt install net-tools". This enables us to use ifconfig which we run next.
Run "ifconfig" and note the inet address since we will be using it soon. Mine here is 192.168.22.131
We want to be able to use this machine to connect to the SecOnion machine but if we open Firefox and type in the SecOnion Ip address we get nowhere. We do not have access yet, so let's go get it.
Head back to your Security Onion machine, sign in if you haven't already, and run the following command
so-allow is a command in Security Onion that allows you to open ports for OSSEC agents, syslog devices, or analyst VMs. It also provides an option to add firewall rules for sensors.
Enter your password
Type a then Enter
Type in the IP address for the analyst machine and wait. It will look like this when finished.
This will create a firewall rule on Security Onion that will allow you web access from your Ubuntu Desktop
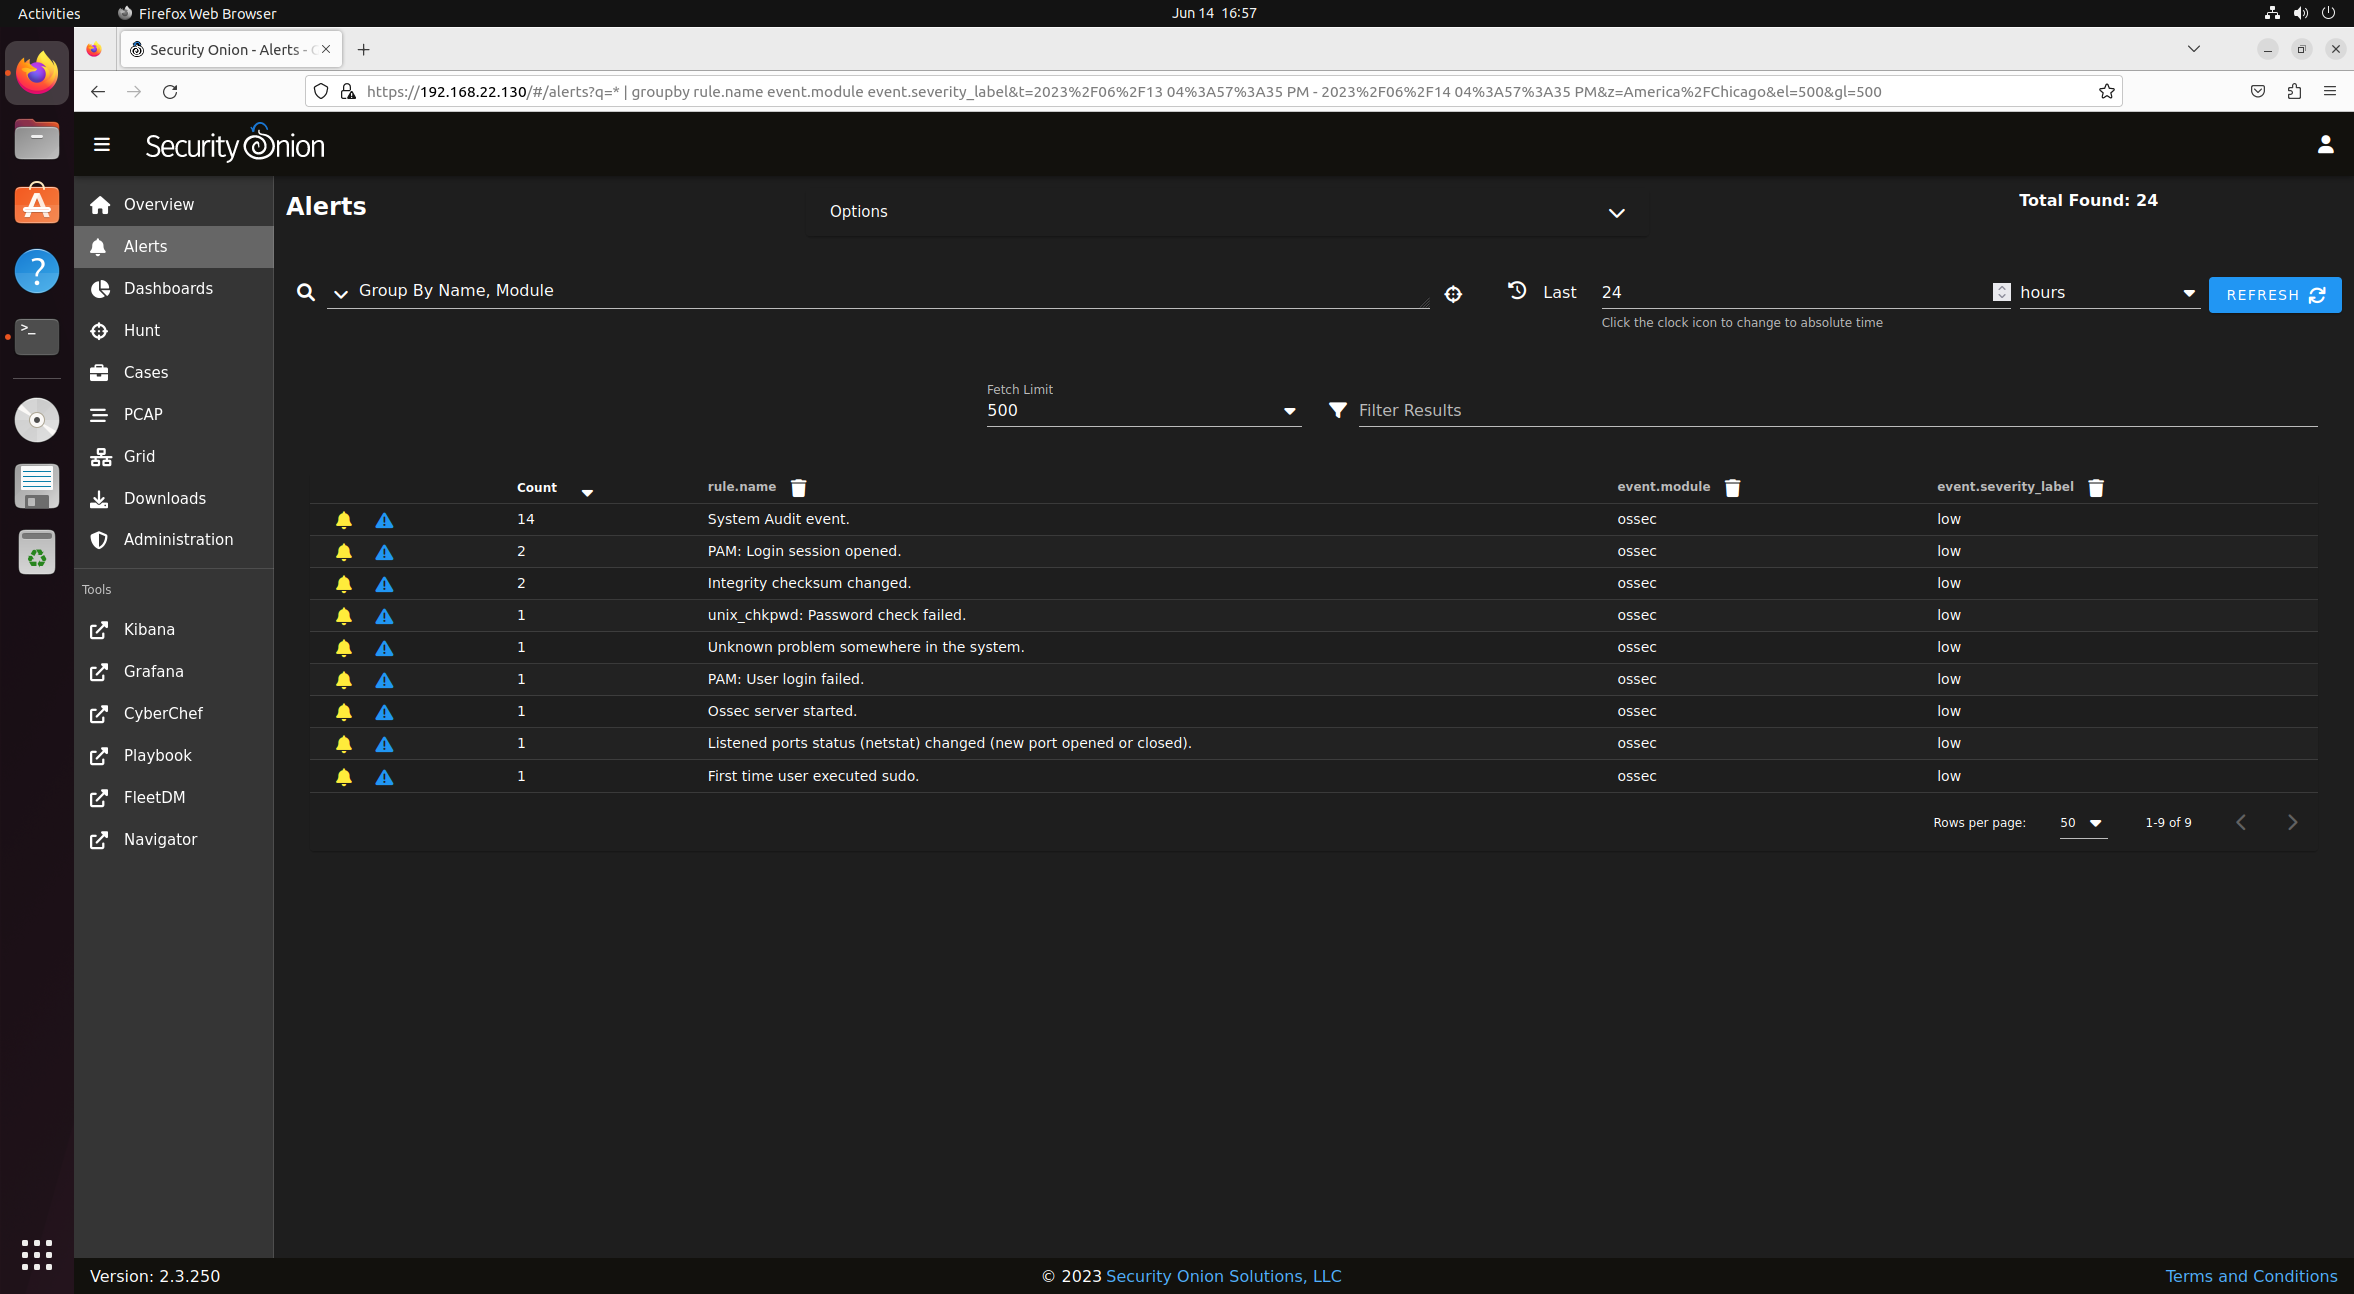
Use Firefox to navigate to the Security Onion IP Address on your analyst machine. Notice the warning but don't give it too much attention since we are doing this in a controlled environment.
Log in and take a look around.
This ends the configuration of the Security Onion VM.
Configuring Kali Linux
Kali Linux will be used as an attack machine to propagate different forms of offensive actions against the Domain Controller and the other machines attached to it.
Kali Linux Download
Simply click on the hypervisor you are using and it will start the download
Since you’re downloading the VM file, all you’ll need to do is to click on the .vmx file from the Kali Folder you downloaded and it will automatically load up the default Kali image in VMware.
Before powering on the Kali, change the Network Adapter to Vmnet2 and its Memory to 4GB, then power it on and use default credentials as specified.
After these changes, go ahead and power on the machine.
The default username and password are kali and kali.
For good practice, we're definitely going to need a better password. Once logged in click the terminal icon in the top left and type passwd to change the default password.

The Kali machine is ready for use.
pfsense Interfaces and Rules
coming soon!